Showing posts with label meta meshes. Show all posts

Wednesday, November 23, 2016

Worm Day

I was testing a new version of the Alien Biome made by Bohan, one of our in-house artists. The biome was looking good. I was making sure the new material rendering in UE4 worked as expected. (In case you have not seen it, here is a video showing just that.)


While I roamed around this terrain, I wondered how easily a non-artist like me could extend the scenery. I decided to test what I could achieve in just one day.

I figured out it would be nice to have some massive point of interest. Some sort of giant worm maybe. I loved the Dune treatment by Jodorowsky and Giger. They collaborated mostly about the house Harkonnen. No worms there, but the scale and weight of the concepts was striking. It would be fun to explore a really large formation like the ones they had.

I did not want to create any new textures, materials or props for this. I would be using whatever was already there in this biome. For this reason, I chose to make the giant worm look more like a fossil. Minerals in this planet had taken over every cell of the worm, leaving something that up close looks pretty much like terrain.

The first step was to create a simple model for the worm. I did this using traditional modeling in 3ds max:


This is just a series of primitives arranged in a worm-like fashion, with some worm-tusks sticking out.

The next step was to paint "meta-materials" on top of this. To make it simpler to identify where each meta-material would go, I picked distinct colors to represent each one of them:


In a normal production project, you would have a greater variety of meta-materials. In this case, however, I was really pushing for the minimum amount of work necessary.

Once I had the textured worm, I imported it as meta-mesh in Voxel Studio. I made sure it was huge (3km long) and that it fit nicely the already existing terrain:


I also had to set up some connections between the existing materials and the meta-materials I had painted on top of the model. I chose to use only two meta-materials: one for the tusks and another one for everything else. In this procedural component, each meta-material is subdivided into final materials using artist-created maps. I hoped just two meta-materials was enough to make it interesting.

This part of the setup was quite simple:


After Voxel Studio processed the new mesh and meta-materials, I got to see the worm for the first time:


I was then able to export into Unreal Engine 4 and see how this looked in the final environment. 

I captured this short video so you can have a better idea of the results so far:


While the model and material assignment could use more detail, the sense of scale and weight was already close to what I was looking for. 

I clearly do not have Giger's talent (or Jodorowsky's hallucinogenics supply) so I was curious about how far I could go by myself, and how much the procedural systems we have built could help me. I think it turned out to be OK, considering I only spent around five hours in total creating this feature.

As usual, I look forward to your opinions and comments.

Thursday, August 4, 2016

System Integration

Here is a scene that combines all the recent developments in Voxel Farm:


This integration is subtle. There are no giant turtle mountains here, but the same system we used for the giant turtle is applied here to produce the natural rock pillars that are connected by the bridges, also the platform where the pyramid rests:


These natural structures are defined by a low resolution mesh that captures the basic shape. This is expanded in realtime into detailed features like rocks, sand and dirt using procedural materials that we call Meta-materials.

The large terrain around the pillars and the pyramid's base is using Voxel Farm's standard procedural terrain.

This scene also uses UV-mapped voxels. This is a different method to apply textures to voxels. It allows much finer control. The entire pyramid is using them:


There is also the new instancing system, which is responsible for all the trees plants and rocks you see scattered around. You cannot see this in just screenshots, but this new system is able to preserve existing instances even in the event of user edits and destruction. This avoid the visible "replanting" of vegetation and rocks around edits.

And all this is running in Unreal Engine 4. I would say the UE4 integration is the last of the systems than went into taking these shots.


Saturday, May 14, 2016

Turtle Mountain

If you have ten minutes or so to spare I encourage you to check out this video. The rest of this post will be about how it was done:


The shyamalanian twist here is the guy lives in the back of a giant turtle. (Maybe not so much of a twist since the video title and thumbnail pretty much give it away.)

What you are seeing here is a new Voxel Farm system in action. It gets a very low-resolution mesh as a base and enhances it by adding procedural detail.

I think this is an essential tool for world builders.. Very often procedural generation deprives the creator of control over the large scale features of the terrain. Or, when control is allowed, it comes in the form of 2D maps like heightmaps and masks. There is no way to drive the procedural generation into complicated shapes and topologies like intricate caves, floating islands, wide waterfalls, etc.

We chose a massive turtle mountain to drive the point anything you can imagine can be turned into a detailed terrain. This is how it works:

The first thing you need to do is create a low-resolution mesh for the base of the terrain feature. This project used three of these meshes, one for the turtle's body and shell, another for the terrain protuberance on the top of the shell and one last mesh for a series of caves. Here you can see them:


On their own they were rather simple to produce. The tortoise is a stock model from a third party site. The mountain was done by displacing a mesh using a heightmap that had a fluvial erosion filter applied to it. The cave system mesh is a simple mesh with additional subdivisions and 3D noise applied to it.

These meshes were imported into Voxel Studio (our creative world building tool) and properly positioned relative to each other.

In addition to triangles, the meshes were textured using traditional means. Here you can see the texture that was applied to the turtle body:


Here is how the textured top mountain looks like:


Note how the texture uses single flat colors. Each pixel in the texture represents a terrain type, not an actual color. You can think of these as instructions to be passed down to the procedural generators when the time comes to add detail.

The meshes may appear detailed at this distance, but if you stretched them to cover four kilometers (which is the size of the turtle base in the world), you would see a single triangle span a dozen of meters or more. A single texture pixel would cover several meters. This would make for a very boring and flat environment. Here is where the procedural aspect kicks in.

Each color in a mesh texture represents what we call a "Meta-Material". I have posted about them before: here and here. In general a metamaterial is a set of rules that define how a coarse section of space can be refined. In this particular implementation for our engine, this is achieved by supplying two different pieces of information:
  1. A displacement map
  2. A sub-material map 
This is a very simple and effective way to refine space. The displacement map is used to change the geometry and add volumetric detail to an otherwise flat surface. The submaterial map registers closely to the displacement map so the artist can make sure materials appear at the right points in the displaced geometry. Once again the submaterial map does not contain final colors. Each pixel in this map represents a final voxel material that would be applied there.

Here you can see the displacement and submaterial map used for one of the metamaterials in the scene:


One particularly nice aspect of the system is that displacement properly follows the base mesh surface. It is possible to have nice looking cliffs and even apply displacement to bottom facing surfaces like the ceiling of a cave. For mesh-only displacement this is not usually difficult, but doing so in voxel space (so you can dig and destroy) can be quite complex. I'm happy to see we can have voxel cliffs that look right:


Metamaterials, beside displacement and submaterial maps, can be provided with "planting rules". This allows bringing in additional procedural detail in the form of larger instanced content. These can be voxel instances like the large rocks and boulders seen in the video or, they can be passed as instances to the rendering side so a mesh is displayed in that position. The trees in the video are an example of the later.


The previous image shows a mesh instance (a tree) at the left and a voxel instance (a boulder) at the right. Plants, grass, and small rocks are also instanced, but they are planted on top of materials, not meta-materials. One thing I did not mention before is this demo uses Unreal Engine 4. That is another key piece of tech that is coming along very nicely.

Already confused by these many levels of indirection? It is alright, once you start working with these features they begin to make perfect sense. More to that, it becomes apparent this is the only way you can get from a very coarse world definition into something detailed as seen in the video.

I hope you enjoyed this and that it gets your imagination started.

Monday, March 21, 2016

Displacement and Beyond

In a previous post I introduced a couple of new systems we are working on. We call them Meta Meshes and Meta Materials. Here is another quick bit of info on how they work. This time we will look at the very basics.

We will start with a very low resolution sphere mesh like this one:
This new system allows me to think of this not just as a mesh, but as a "meta mesh". This is not just a sphere, but the basis of something else that kind-of looks like sphere: a planet, a pebble or maybe your second-grade teacher.

To a meta-object like this one we can apply a meta-material. For the sake of simplicity, in this post I will cover only two aspects of meta-materials. The first is they can use a displacement map to add detail to the surface.

Once you tie a meta-material to a meta-object, you get something tangible, something you can generate and render. Here is how the meta-sphere looks when the displacement equals zero:
This is a reproduction of the original mesh. It still looks very rough and faceted, making you wonder why would you need to go meta in the first place. But here is what you get when you increase the displacement amplitude:

While the shape follows the supplied concept, the detail is procedural. The seed information is the very low resolution sphere and the displacement map, which is applied to the surface using something similar to triplanar mapping. Unlike shader-only techniques, this is real geometry. It will be seen by the collision system, the AI pathfinding and other systems you may lay on top. It is made of voxels, so this is detail you can carve and destroy.

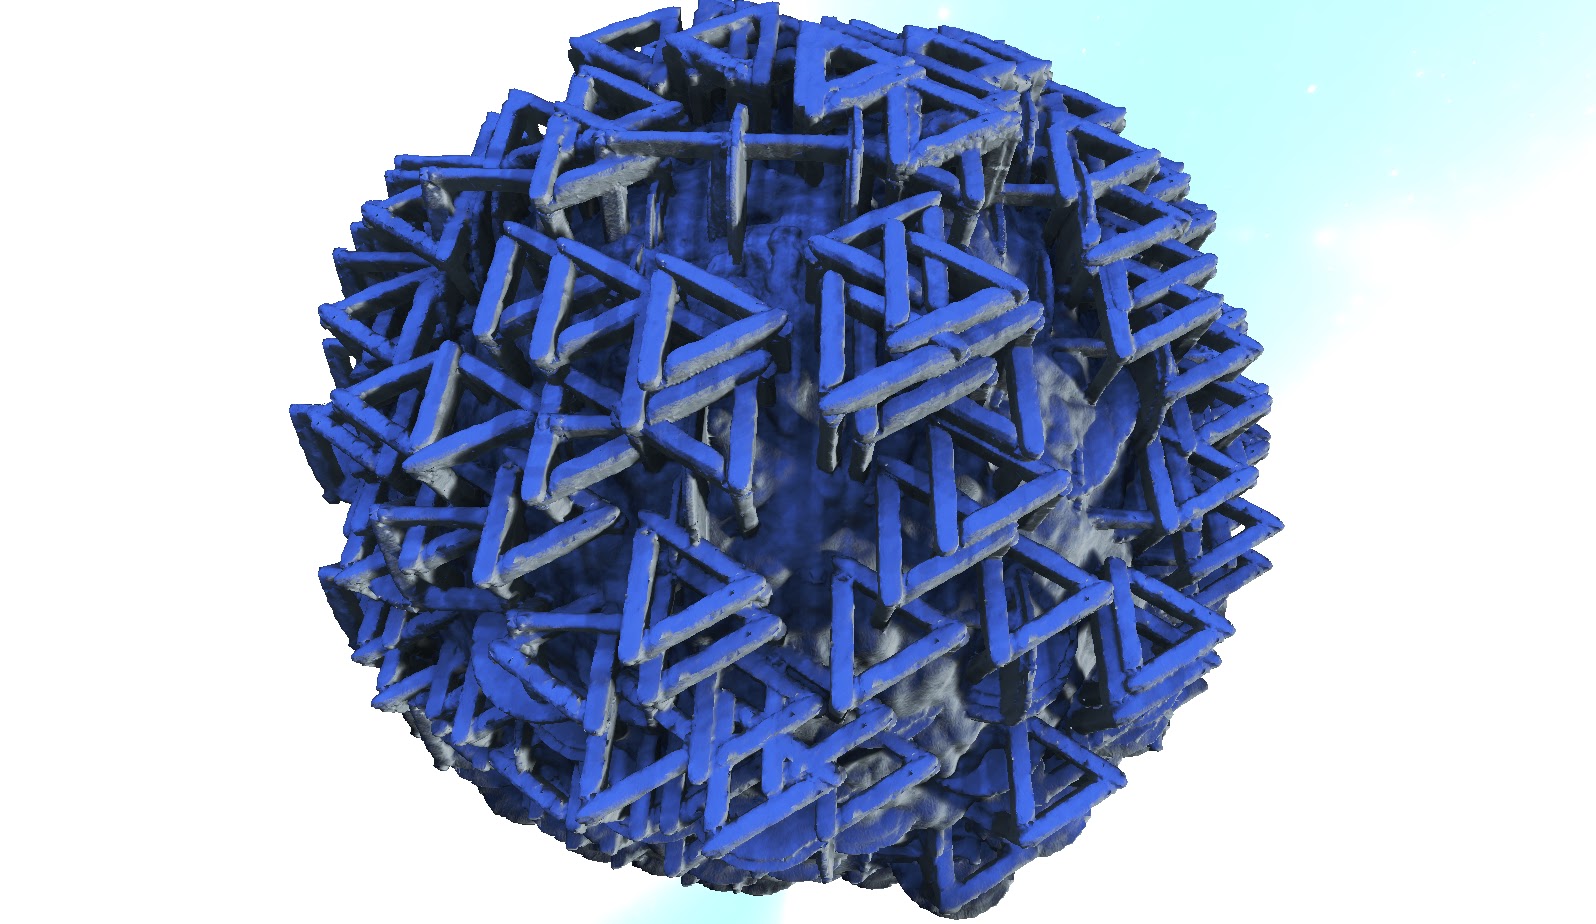
This displacement is applied along the normal of the original meta-object. This would produce beautiful features in vertical cliffs, overhangs and cave ceilings. But often displacement alone is not enough. You may want more complex volumetric protuberances. Luckily meta-materials can also be extended with voxel instances:


This is a real-time generation system, so there are practical limits on what can be done. I would like to go full fractal on this one, having an infinitude of nested meta materials. It is not really like that in this current iteration of the system. But at this stage the system can be used to produce very impressive content, in particular landscapes. I will be covering that in a soon-to-come post.